Skip repetitive infrastructure
Generate models, DTOs, data access, validation, CRUD endpoints, forms, and migrations from a shared application model—then spend your time on business logic and product quality.
Describe your data model and GOAT generates a Go backend, an Angular frontend, APIs, forms, and migrations. Review and extend the code in your own repository.
Latest release GOAT 0.0.9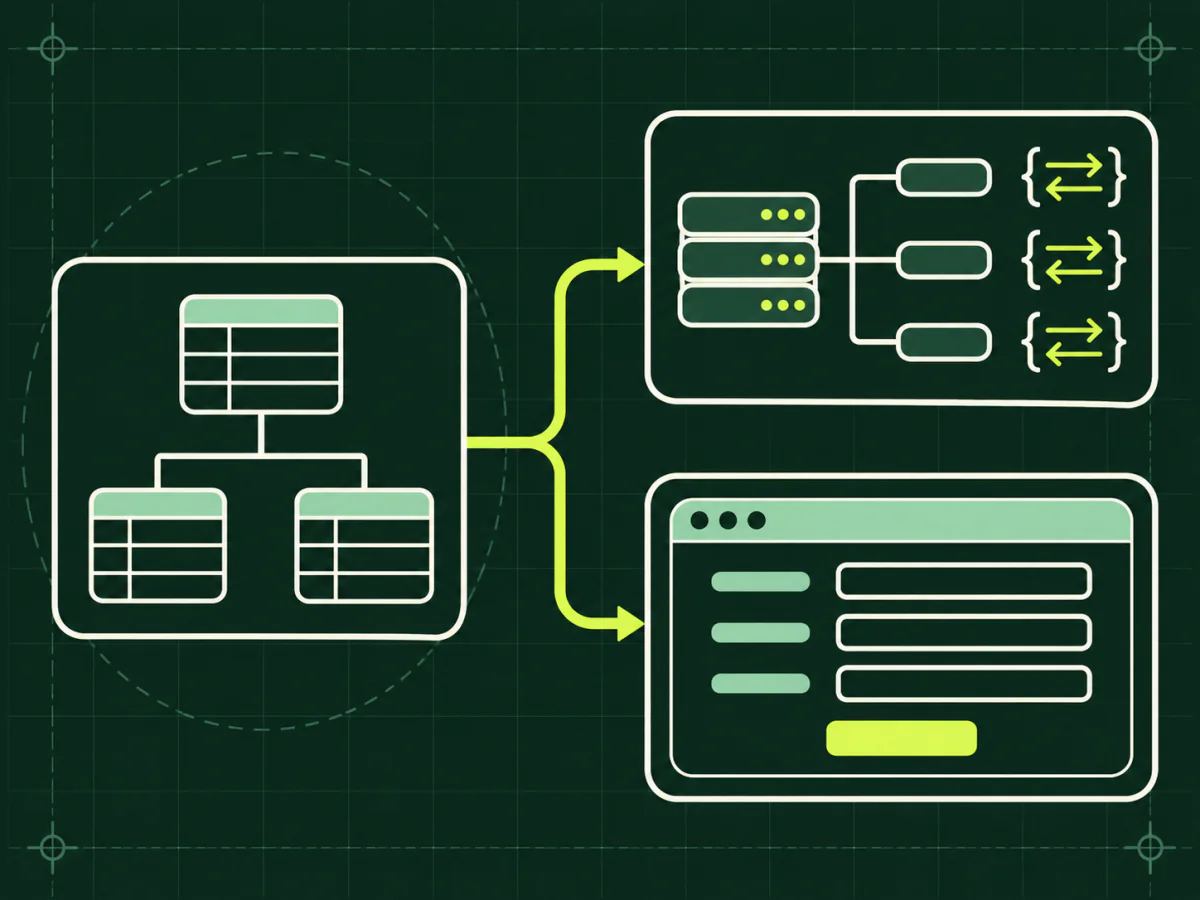
Generate models, DTOs, data access, validation, CRUD endpoints, forms, and migrations from a shared application model—then spend your time on business logic and product quality.
A single domain definition connects the database, Go API, and Angular interface, reducing the drift and glue code that appear when each layer evolves separately.
Generation is not a one-time scaffold. Apply focused changes as the application grows, inspect them with Git, and freely extend or refactor the resulting source code.
GOAT 0.0.9
Choose the CLI build for your system. You’ll also need Git and Docker to run your project locally.
Need another format or architecture? Browse all distributions
After installing GOAT, sign in through your browser. Creating a project requires an active license. Get the free license
goat login
Replace the example URL with your own Git repository URL.
goat init ./my-project --name=my-project --git-repo=https://github.com/your-user/my-project.git --template=goatcms-child
cd my-project
Start Docker first. This step prepares the database and loads starter data.
goat run:script --path=@goatcms/herd/setup.goat
Leave this command running while you work on the project.
goat run:script --path=@goatcms/herd/dev/watch.goat
Create a free account to open the GOAT panel and claim a free one-year license.